
How to apply mascara without clumps comes down to three things: a clean base, the right amount of product on the wand, and a slower, more controlled application than most of us want to admit.
Clumps aren’t just an “annoying mascara thing,” they usually mean something is off in the chain, a too-wet formula, a wand overloaded at the tip, old product, or layering before the first coat sets. The good news, you can fix it without buying a whole new makeup bag.
Below you’ll get a quick diagnosis checklist, a step-by-step routine that works for most lash types, and a few realistic product and tool tweaks. No magic, just cleaner technique.
Why mascara clumps happen (and what they usually mean)
Most clumping is either “too much product” or “product drying in the wrong place.” Here are the common culprits that show up in real life.
- Overloaded wand: The tip holds a blob, you hit the lash line, and it dumps product in one spot.
- Formula too wet or too thick: Some volumizing mascaras are designed to build fast, which can clump fast too if you’re heavy-handed.
- Mascara past its prime: As it dries out, it can get stringy, then you get little “crumb” clumps.
- Layering too soon: Second coat on lashes that are half-dry tends to grab and bunch.
- Oily lids or leftover skincare: Slippery lashes make product slide, then gather.
- Wrong brush shape for your lashes: Big fluffy wands can overwhelm short or straight lashes, micro-wands often look cleaner.
According to the American Academy of Ophthalmology, eye makeup can carry bacteria over time, and replacing mascara regularly helps reduce risk. If your mascara smells “off,” changes texture, or irritates your eyes, it’s worth tossing.
A quick self-check: which clump problem do you have?
If you can name the type of clump, you can fix it faster. Use this as a 60-second mirror check before you change everything.
- Big blob at the lash base → wand overload, too much pressure at the root.
- Spidery tips → too many strokes on the ends, or mascara drying mid-application.
- “Crumbs” or flakes that look like clumps → product too dry, or rubbing from oily lids.
- Clumps only on lower lashes → brush too large, or you’re blinking into wet mascara.
- Clumps only after coat #2 → timing issue, or incompatible layers (primer + thick formula).
Prep that actually matters (you can skip the rest)
How to apply mascara without clumps gets easier when lashes start separated and oil-free. You don’t need a 10-step routine, just the basics that change the outcome.
1) Clean, dry lashes
If you wear sunscreen or rich eye cream, give lashes a quick pass with micellar water, then let them fully dry. Any slickness can make mascara “pool,” then clump.
2) Light powder or a thin base (optional)
If your under-eye area gets oily, a small amount of setting powder can reduce transfer, which also reduces the “smudge-then-clump” look later.
3) Curl before mascara, not after
Curling after mascara can squeeze lashes together and create instant chunkiness. If you’re worried about damage, use a clean curler and gentle pressure, or ask a pro for lash-friendly options.
The no-clump application method (step-by-step)
This is the method I’d tell a friend to try before spending money. It’s slower by about 20 seconds, but the payoff is cleaner lashes.
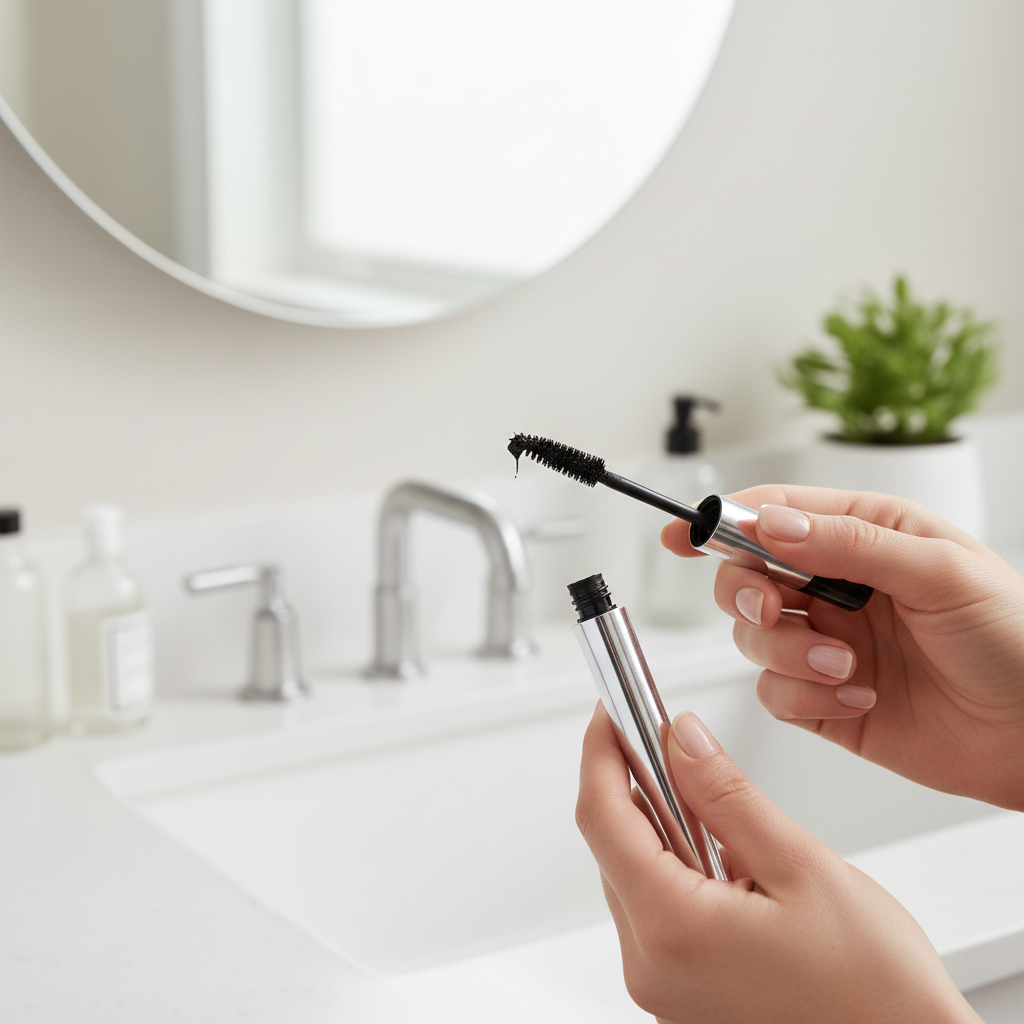
- Wipe the wand, don’t pump: Pull the wand out, then lightly wipe excess on the tube rim or a clean tissue. Pumping pushes air in and can dry product faster.
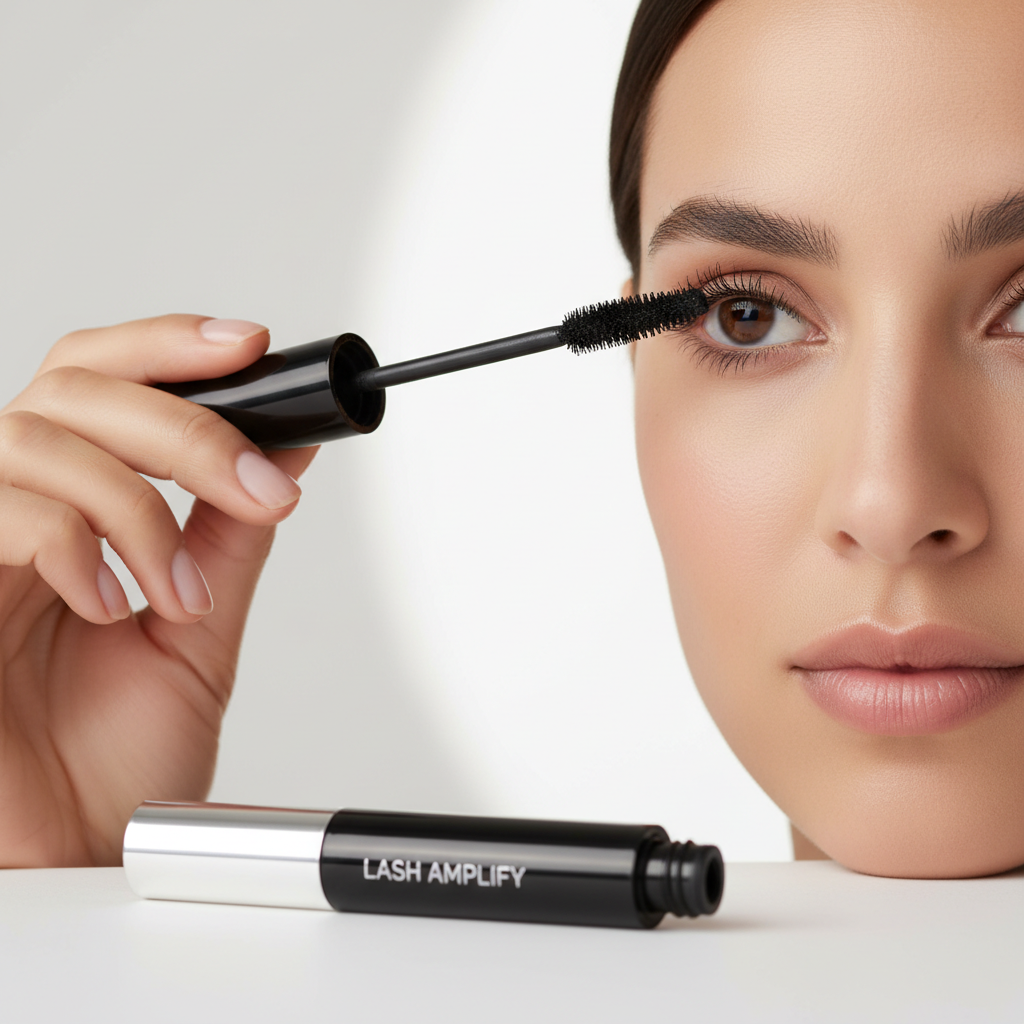
- Start at the roots: Set the wand near the lash line, then do a tiny side-to-side wiggle to separate, and lift upward.
- One controlled coat first: Think “thin and even,” not “dramatic.” This first layer is your structure.
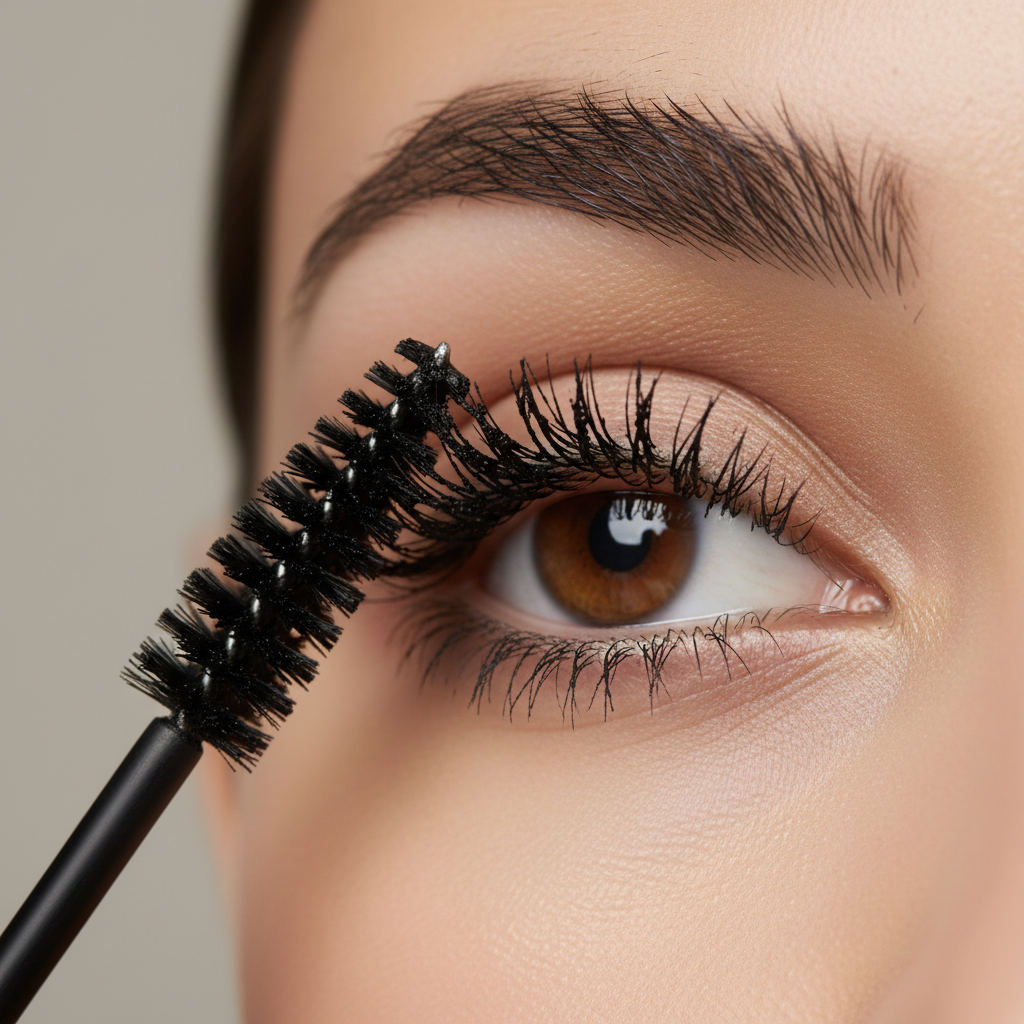
- Comb while wet if needed: If you see lashes sticking together, use a clean lash comb or spoolie right away.
- Wait, then build strategically: Let the first coat get tacky, not fully dry. Add product mostly at the base and mid-lengths, then barely touch the tips.
- Finish with tip cleanup: Use the wand’s cleanest edge to lightly graze tips, separating instead of depositing.
Key point: clumps often come from repeated strokes at the same spot. Fewer passes, more precision.
Tools and formulas: what to change when technique isn’t enough
If you’re doing the right steps and still seeing clumps, it’s usually the wand, the formula, or both. Here’s a practical way to decide what to swap.
| Problem you see | Most likely cause | What to try next |
|---|---|---|
| Thick clumps on short lashes | Wand too big | Smaller brush or “precision” wand, apply in lighter layers |
| Stringy, goopy texture | Mascara drying out | Replace tube; avoid adding drops unless brand instructs it |
| Clumps only with primer | Layering incompatibility | Skip primer, or use a thinner mascara over primer |
| Flakes that look like clumps later | Formula mismatch or rubbing | Try tubing mascara; set under-eyes; check for eye watering |
| Lower lashes stick together | Too much product | Use wand tip lightly, or a dedicated lower-lash brush |
Many people do better with tubing mascara if smudging and “clump-flakes” happen midday, since it tends to form little sleeves around lashes and remove with warm water. Volumizing formulas can still work, you just have to be stricter about wiping the wand and limiting coats.
Fix clumps fast (without starting over)
Sometimes you notice the mess when you’re already out the door. You can still salvage it.
- Clean spoolie rescue: Brush through from root to tip with a clean spoolie. If it tugs, stop and work in small sections.
- Lash comb for “stuck pairs”: A metal comb separates better, but be gentle near the lash line.
- Spot-remove with a tiny brush: Dip a small angled brush or cotton swab in micellar water, tap off excess, then erase the blob.
- Don’t keep layering to hide it: This is how one clump becomes five.
Common mistakes that keep clumps coming back
These are the habits that quietly sabotage even a good mascara.
- Pumping the wand: Adds air, can dry formula faster, and makes texture less predictable.
- Using the “dirtiest” part of the wand: The tip blob is usually the culprit, wipe it before your first stroke.
- Too many coats too fast: The second layer grabs the first and creates little knots.
- Skipping separation: If your lashes naturally cross, a quick comb step matters more than buying a new product.
- Holding the wand straight in: Slightly angling and rolling the wand helps distribute product instead of dumping it.
Also, don’t ignore eye irritation. According to the U.S. Food and Drug Administration (FDA), cosmetic products should be used as labeled and kept clean to reduce contamination. If redness, swelling, or persistent discomfort shows up, consider stopping use and checking with a clinician.
Key takeaways (save this for tomorrow morning)
- Wipe the wand so the first touch doesn’t deposit a blob.
- Wiggle at the roots, lift through the lengths to separate as you build.
- One thin coat first, then add a second only where you need it.
- Comb while wet, not after everything sets.
- If clumps persist, switch wand size or formula style before blaming your technique.
Conclusion: a cleaner lash look is mostly timing and control
How to apply mascara without clumps isn’t about perfection, it’s about managing product: less on the wand, fewer strokes on the tips, and a quick separation step while everything stays workable. Try the wipe + wiggle-and-lift method for a week, then decide whether you truly need a new mascara or just a better rhythm.
If you want a simple action plan, do this tomorrow: wipe the wand, apply one thin coat, comb once, then add a targeted second coat only at the base. That usually gets you 80% of the way there.